Joined: 25 Jan 2005
Posts: 138
Location: Palouse Hills
| Posted: Sun Dec 18, 2005 5:08 am Post subject: Torsion CBs | |
| Darin (Taipan)
asked me some questions about these, and a quick check shows that while there is
information on Georg's German forum , there no longer seemed to be much
on any English forum. It seemed better to address the questions in the "Device
Construction" area. The basic cloud-buster, and the one I first made, consists of six vertical copper pipes spaceed uniformly in a circle, and placed in a cylinder of orgonite, with a quartz crystal at the base of each of the pipes. I buried my first one in the ground, because this gave it better contact with the qi which flows through the ground: a simplified diagram (only four pipes show) is as follows:  After I buried it, I made daily observations of the qi flow into and out of it, and after a month or so, I tried to get some sort of geometrical idea of the qi dispersal, when the CB was working normally. In the following diagram, the qi most strongly influenced by the CB is white and that less strongly influenced is yellow:  Negative qi spiraled down from the sky (counter-clockwise viewed from above) and qi spiraled up from the ground (again counter-clockwise viewed from above). The boundary of the spirals roughly formed a hyperbolid (or hour-glass) shape: this boundary is indicated by purple curves. Where the two spirals came together was where the negative qi was transmuted into positive qi:  If we remove the pipes from the diagram, and place a line tangent to the boundary curves, we get  This suggested to me that I should set the 6 pipes at an angle, somewhat the same as this tangent pipe -- the following diagram shows the idea with two pipes:  I did this, and found that the qi moved somewhat as indicated in the following diagram:  Since the positive qi (colored red) swirled upward in the center from where the transmutation took place at the narrow part of the 6-pipe configuration, I added a seventh pipe in the center to help direct it. This worked well, but only when the bottom of the seventh pipe was held high enough that it was just above the transmutation spot. When I let the center pipe move down further, the effect diminished considerably. I also found that this "torsion CB" worked better than the standard only if the pipes were twisted so that they pointed into the swirl of the negative qi swirling downward. You can see the way they should go from Rich's photo: 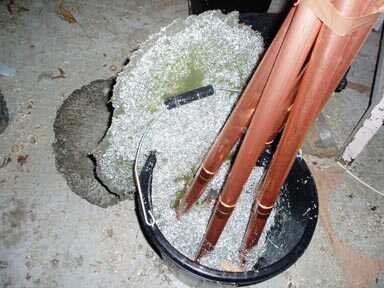 . . Construction First a bucket with a template at the bottom -- note that the holes are at the edge of the template, and they are a little larger than normal because the pipes will be at an angle and so will take more room in the template than if they were straight up and down: 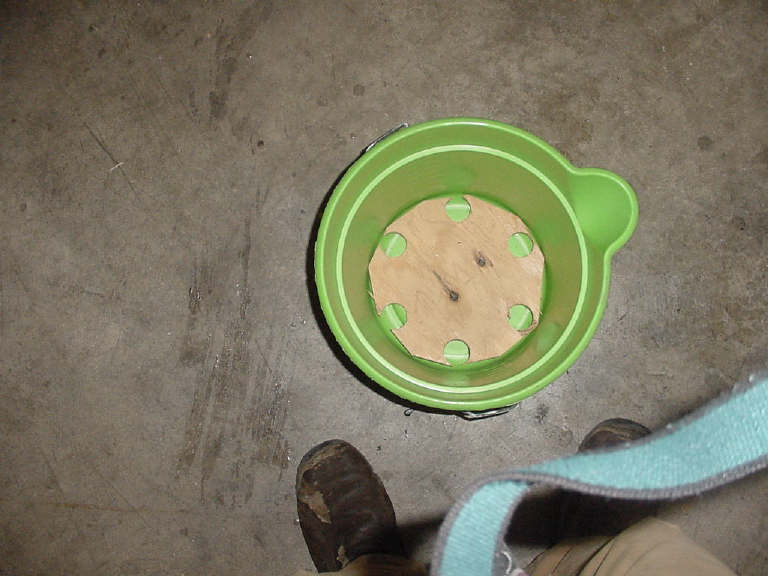 I use four 1" diameter 10' long copper pipes, which I cut into 8 5' lengths. Six for the regular pipes, one for the center pipe, and one I cut further into 6 equal (10") pieces.On each of the small pieces I solder (or glue) a cap on one end and a coupling on the other. Instead of a cap one can also just place good tape (such as black electrical tape) over the end. 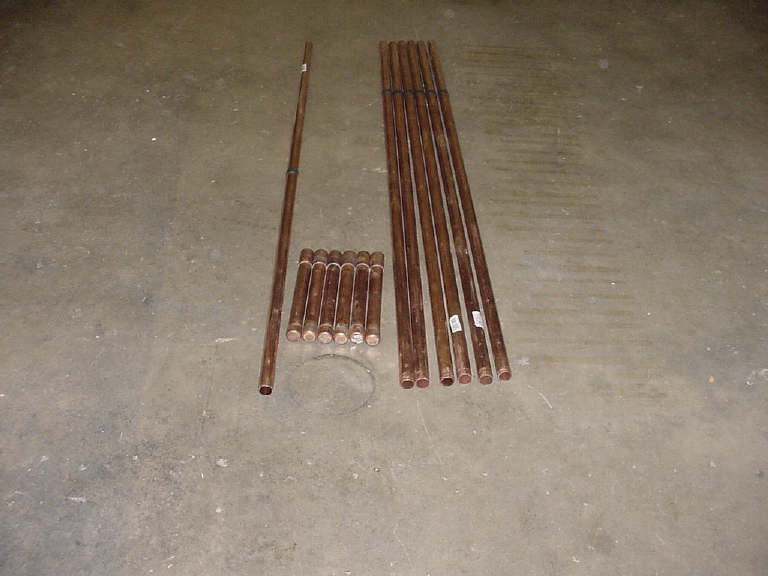 Then I cut a second wooden stabilizer, similar to the one in the bocket, with with a larger diameter so that the holes are an inch or more from the edge fo the disk. I also make a hole in the center, 1" in diameter, for the center pipe to fit through later. I put good quartz crystals in the bottoms of the small pipes, pour some metal shavings or bbs over the crystals so that the shavings/bbs come just to the tops of the crystals, and then pour resin into the short pipes just to the tops of the crystals as well. Of course I first charge the crystals with charged water if that is available. Then I place the 6 longer pipes vertically into the couplings of the shorter pipes and set them into the holes of the stabilizer at the bottom of the bucket. I place the other stabilizer over the pipes, and twist the stabilizer so that it looks something as follows: 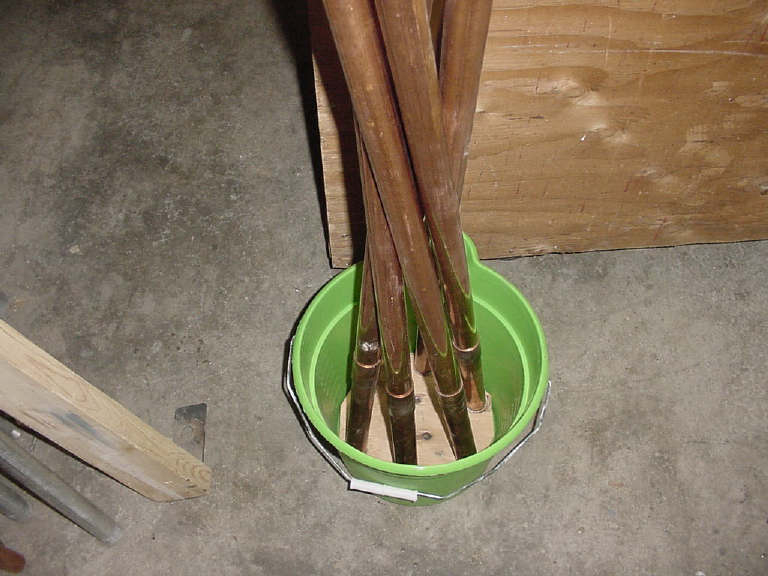 I move it so it is close to a bench or table: 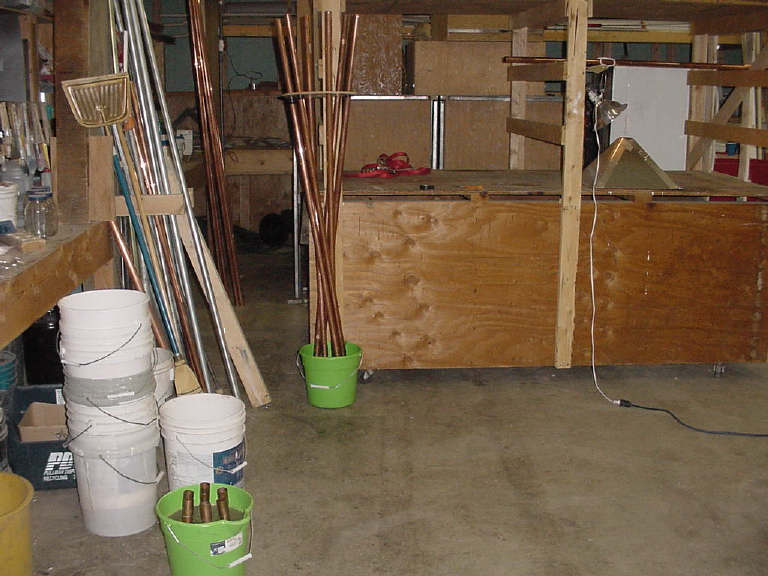 I then take a piece of tape and wrap it around the pipes just under the upper stabilizer so that the pipes will keep their position. I take another piece of tape and tape the structure to the table so that it will not tip over. Now I pour metal shavings into the bucket around the pipes. I normally place several pieces of rose quartz in the shavings to soften the qi. It is safest to make two resin pours, just filling the bucket half-full with shavings for the first pour, and then bringing the shavings up to about a half-inch from the top of the bucket for the second pour. When the resin is cured, I take the tape off which kept the pipes in place. Since the pipes are at an angle, the upper stabilizer will tend to fall lower and spread the pipes apart a little. I counter this by wrapping enough tape around the pipes just under the stabilizer so it supports the wood. Once the stabilizer is stabilized, I place the center pipe through that hole. I bring is just far enough down so that the bottom of the pipe is just barely above the narrowest part of the six pipes. To keep the center pipe from falling through further, I place a circle of tape around it just above the stabilizer: 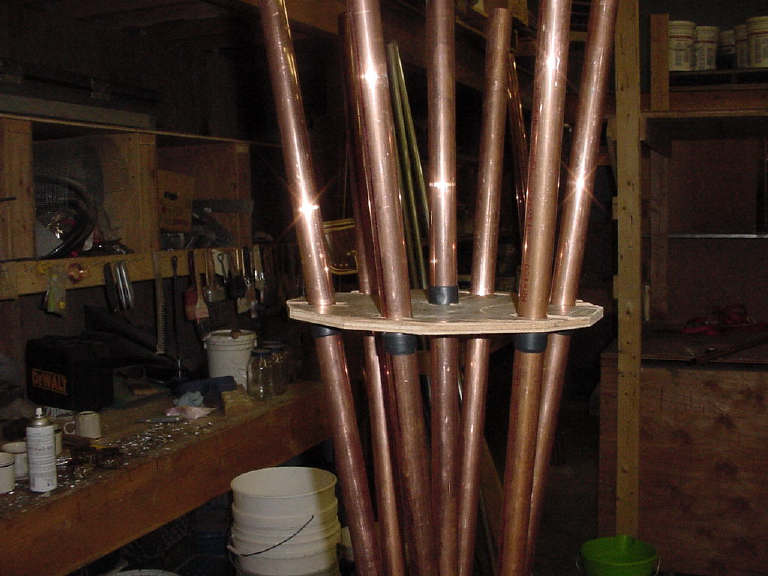 Here is a finished product made by Rich. He and John do better work than I do in constructing them, and could probably improve on this tutorial.  |
|
Joined: 17 Mar 2005
Posts: 125
Location: South UK
| Posted: Sun Dec 18, 2005 12:04 pm Post subject: | |
| Thanks for the tutorial, and kind words. John and I
kept meaning to do one taking stage by stage pictures, but we really couldn't do a
tutorial like you just have. I think you are being too modest, Laozu exhibits the touch of
a skilled craftsman, and the brain of a mathemetician whilst working. The one thing I would add is with regards to charging the xtals. If you have access to distilled water, but it is your first CB, or don't have one near, you can build the CB without any crystals in the pipes, then after the base is cured place a 'lesser' crystal in each pipe not fixed in with metal/resin (it is important to put the crystals in well after curing, so a lesser crystal does not get stuck in there, whether torsion of croft style). Then once constructed place the 'good' crystals in the distilled water, charge them for 12hours+ ontop of the CB, then use the charged xtals in the base of the pipes (**removing the lesser crystals first** it is important to mix the resin/shavings-bbs prior to removing the crystals from the water to minimise the loss of charge held by the crystals). Also to pour the mix over the crystals I previously made alot of mess around the pipes etc, so to address this, the last batch John and I made, we got a funnel and cut the bottom off slightly so it fitted fairly flush into the top of the pipe, this way you have a much larger/easier area to carefully pour some matrix mix into the pipe, whilst keeping the pipe tops resin/shaving free. From Laozu's observations of our work, it seems that getting the best crystals (Long, fat, nicely termiated DTs etc) you can for the pipes is quite important to their strength (although normal crystals work fine if money is an issue etc). A good tip if you are buying in person, is to take a small length of pipe with you, and just check the crystal will fit in. Best Wishes Rich |
|